The Best Reusable Pleated Cloth Mask
These reusable cloth face masks have become a favorite of my friends and family and have been a best seller in my Etsy shop. They’re also my preferred mask style to sew.
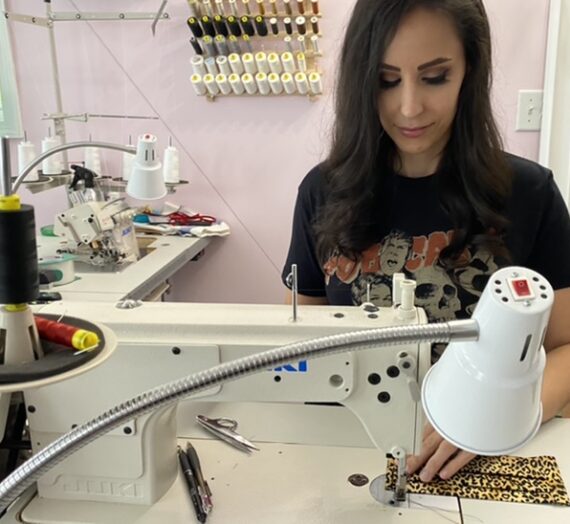
At the onset of the pandemic, I tried sewing several different face mask styles. I needed a mask pattern that would be quick to make and would also fit a variety of face sizes. I also knew that I wanted to include a pocket for filter paper and a nose wire for an even better fit. As it turned out, adding a nose wire is the best way to prevent glasses from fogging up too!
After testing out multiple different tutorials for face masks, I settled on combining a few components from different styles and developed my own version of a pleated mask.

The pleated style is great because not only does it allow the mask to fit multiple sizes, the pleats allow the mask to move with you as you talk.
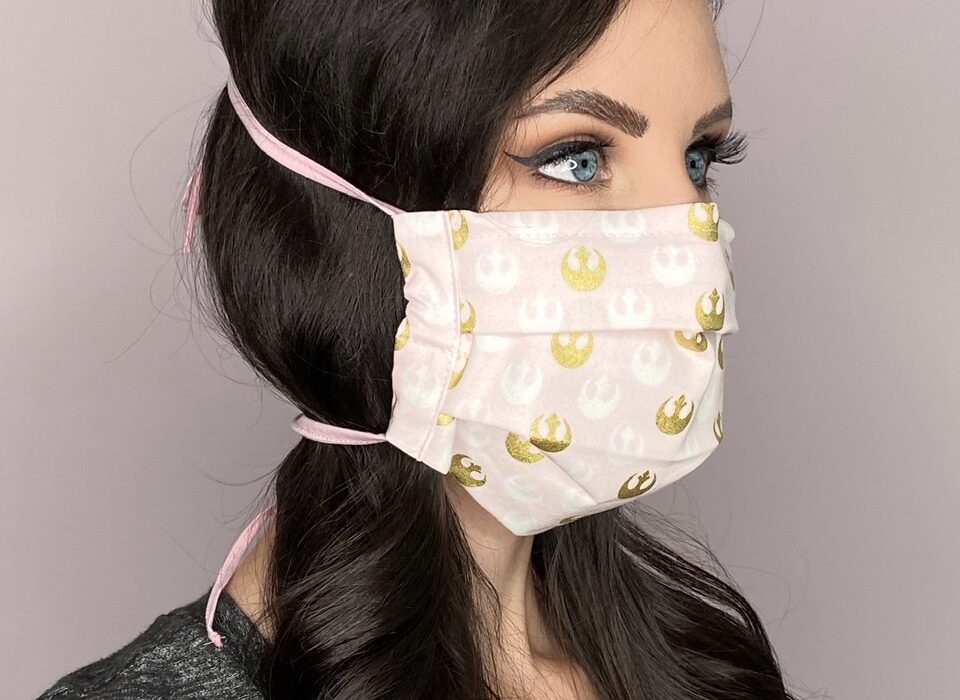
I added casings along the sides of the mask so I could add either fabric ties or elastic ear loops to a finished mask. This makes it relatively easy to change out ties for elastic and vice versa.
The pocket opening allows the wearer to add their own filter paper for added protection.
I definitely wanted to include a nose wire, but needed something that wouldn’t rust or discolor the fabric. My husband came up with the brilliant idea of using low-voltage electrical wiring, such as thermostat wire. This wire is made from plastic coated copper that wont rust and maintains its flexibility even after multiple washings. It’s the perfect choice if you can find some!
Supplies Needed:
Note: You can make approximately 5 – 6 Adult sized masks with one yard of fabric depending on the precise width of your fabric and if you are making fabric ties or using elastic for ear loops.
Finished Mask Measurements:
Adult Masks: 8 inches wide by 3.5 inches tall. Expands to up to 6.5 inches tall when worn.
Kid Masks: 6 inches wide by 3 inches tall. Expands to 5.5 inches tall when worn.
For each mask you will need:
- 100% Cotton Fabric (Quilting Weight)
- Thread
- Copper Wire
- 1/8 inch Elastic (optional)

Before You Begin
Pre-wash your fabric using a mild, preferably unsented detergent. Iron flat, then fold with the selvedges together.
When making face masks, it is important to keep your workspace very clean. I keep a bottle of cleaning spray and some hand sanitizer near by just in case.
Even though all of my fabrics are pre-washed, I still advise others to wash their mask before their first wear, then after each subsequent wear.
Making the Mask
Each mask requires one large rectangle for the main body of the mask, with two smaller rectangles that will become side casings for ties or elastic ear loops.
Adult Size: Cut out one 7.5 inch x 15 inch rectangle, plus two 2.25 inch x 4 inch rectangles.
Kid Size: Cut out one 6.5 inch x 13 inch rectangle, plus two 2.25 inch x 3.5 inch rectangles.
Optional Fabric Ties: cut two 1 inch wide strips from selvedge to selvedge, or 44 inches long.
Begin Sewing
Start by finishing the short raw edges of the main rectangle by either overlocking (serging) or carefully trimming with pinking sheers.
With right sides together, fold the rectangle in half so that the short edges are together. Pin in place if desired. Mark 1.5 inches in on either side. Sew a 1.5 inch long seam using a 1/2 inch seam allowance, leaving open a 4 inch gap, then continue sewing the remaining 1.5 inches of the seam. This 4 inch gap will become the opening for the filter pocket.
Press the seam open, making sure the seam allowance is folded back at a consistent 1/2 inch across the gap.
Topstitch along one side of the seam using a 1/4 inch seam allowance. This topstitching will secure the bottom edge of the filter pocket opening. Turn right side out.
Create a fold 1/2 inch above the pocket opening. (Make sure the topstitched side of the opening is below the opening.) Press, then press the bottom edge of the mask flat as well. You will now have a flat square of double layered fabric.
Stitching through all layers, sew across the top edge of the mask using a 1/4 inch seam allowance. This stitching creates a casing that will hold the nose wire.
Folding the Pleats
You will create two pleats across the mask. If it is helpful, before you begin folding the pleats, you may stitch the raw edges of the of the mask to hold the layers together, but I find that it’s not necessary.
I use a pressing cloth with parallel lines drawn onto it so I can pleat many masks without having to stop and measure each one as I go. The lines are drawn 3.5 inches apart for adult masks (3 inches for kids) since this is the finished height of the folded mask.
Lay your mask down on your ironing board so that the side of the mask with the pocket opening closest to you, and on the bottom side facing the ironing board.
Pickup the raw edges of the mask at about 1/3 of the way down from the edge furthest away from you and create a fold with your fingers. Keeping parallel to the edge, bring the fold up towards the far away edge and lay it down about 1/2 inch away from the edge. Press. Create another fold approximately halfway down the remaining section and bring it up so that it is 1 inch below the first pleated edge. Measure your rectangle to make sure it measures 3.5 inches tall (3 inches for kids). If not, adjust your pleats slightly. Press firmly and set aside.
Making the Side Casings
Pickup your 2.25 inch wide rectangles and place them on your ironing board. Using a seam gauge or tape measure, fold in each short end of the rectangle at 1/4 inch. Press. Repeat for the two long edges. You will have two rectangles with all edges pressed inwards at 1/4 inch.
Now fold each rectangle in half the lengthwise and press firmly. Check to make sure the rectangle measures 3.5 inches tall (3 inches for kids).
Making Fabric Ties
If you will be using elastic for ear loops, skip this step.
For a fast and easy trick to complete this step more quickly, check out my safety pin bias tape hack here.
If you cut your strips from selvedge to selvedge, you may leave the sledges on as a finished edge. If the short ends of your strips have raw fabric edges, or an unsightly selvedge needed to be trimmed off, I recommend using a small amount fray check along the raw edge.
Bring your 1 inch wide fabric strips over to your ironing board. Fold each lengthwise raw edge of the strip inwards so that they almost meet in the middle, but do not overlap. Press the entire length of the strip. Now fold in half lengthwise again, and press. You will have a narrow strip of fabric that is approximately 1/4 inches wide with all raw edges tucked away.
Stitch down the length of each tie making sure to back stitch at each end.

Finishing the Mask
Insert one raw edge of the pleated mask into one of the side casings. Edge stitch along the edge of the casing making sure to back stitch at each end of the stitching.
Cut a 6 inch piece of wire. Use needle nose pliers to curl the ends so they will not poke through the mask. Insert the wire into the space above the pocket opening. Be sure to push it in far enough so that you do not accidentally sew over it when attaching the second side casing. Sew on the second side casing just as before.
Using a bodkin or safety pin, thread each tie through either side of the mask. Pull through until each end is even. Tack in place along the middle of the side piece so that the tie does not come out while being washed.
If you are using elastic instead of fabric ties, cut two 10 – 12 inch sections of 1/8 inch wide elastic. Thread through each side casing and tie an overhand knot. Tuck the knot into the casing.
Washing & Care Instructions
Hand or machine wash in warm water using a mild detergent. Do not bleach. For best results, lay flat to dry. Store in a clean, dry place.
This is NOT a sponsored post. The product links included are NOT paid promotional links and have only been included for your web browsing convenience.
Thank you for sharing this tutorial with your friends and family.